Goldenrod Paper = Bloody Handprints = Cool = Acids and Bases Lesson

21 Oct

Color changing goldenrod paper has been exciting students in chemistry! Imagine the enthusiasm of the first student or teacher who spilled a few drops of ammonia on a piece of yellow paper and observed it turn bright red! One can only image them exclaiming: “Super, Wow, Neat!!!”

Place the paper in a solution of household baking soda and the paper turns red; immerse it in vinegar and the red turns back to yellow! This goldenrod paper is colored with a dye that is an acid/base indicator: red in base and yellow in acid. The paper is similar to litmus paper that is blue in base and red in acid.

Even though color changing, goldenrod paper is no longer being manufactured, Educational Innovations, Inc. still has a supply and the paper is being sold in 100 sheet packages, (#SM-925). This special paper was being manufactured until June of 2008. At that time the process was changed to use a different dye that is more cost effective and better for the environment. Currently, paper of the same color, Galaxy Gold, is being offered by retail office supply stores, however, this paper uses a different dye and is not color changing.

Simple Activities With Goldenrod Paper

1. Write a “secret” message on the paper with paraffin or candle wax. The invisible message can be seen by spraying or wiping the paper with a weak basic solution e.g. ammonia (NH3 (aq)) or baking soda (NaHCO3). If you use ammonia solution, the message will disappear when the ammonia evaporates. If you use a baking soda solution, the message will remain.

2. Write a message on the paper using a cotton swab dipped into household ammonia. As the ammonia evaporates, the red message disappears.

3. Repeat Activity #2 using a cotton swab dipped into a solution of baking or washing soda. The message can be erased using vinegar (HAc) as “Yellowout .”

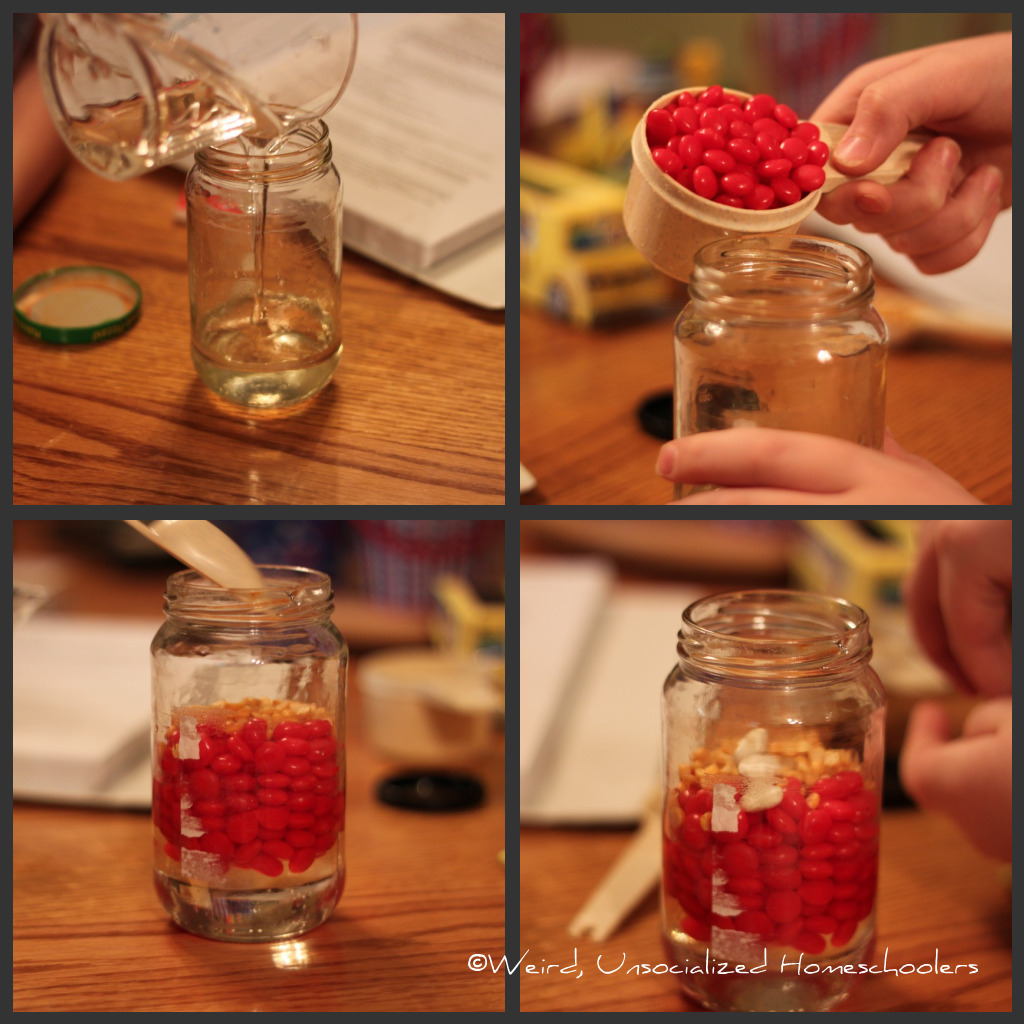
4. Use goldenrod paper to classify household products as acidic or basic. Solutions that turn yellow paper red are bases; solutions that turn red paper yellow are acids; and solutions that do not turn the color of either paper are considered “neutral.”

5. Tape a piece of yellow goldenrod paper to the board. Dip your hand into a shallow container of baking or washing soda and water. Then, when you press your hand against the paper, you will leave a “bloody” hand-print. Especially useful at Halloween. Compliments of Bob Becker 1985, Greenwich High School

6. Sponge the surface of a piece of goldenrod paper with a baking soda or washing soda solution and allow the wet, bright red paper to dry. Then, tape the paper to the board and press a hand that has been dipped into vinegar against the paper. The yellow hand-print will be the reverse or the “negative” of the result in activity #5. Complements of Carl Ahlers 2008, Australia

More Advanced Activities with Goldenrod Paper

7. Sponge a solution of baking soda or washing soda on a piece of goldenrod paper. Observe that the red color becomes gradually darker. Explain? Carl Ahlers has written: “Drying shifts the equilibrium in reaction 1 to the right as the H2CO3 is reduced due to the evolving of CO2 gas (reaction 2) (Le Chatelier). Subsequently more of the red Gol forms on drying. HGol (yellow) + HCO31- <—> Gol1- (red) + H2CO3 (aq) Reaction 1 H2CO3 (aq) <—> CO2 + H2O Reaction 2

8. Determine the equilibrium constant, the Ka, for this acid/base indicator. One way is to prepare a set of different pH solutions using a method of serial serial dilution on a spot plate or in small test tubes. Then, test to see at what pH the color change seems to occur for this indicator paper.

9. Make color-changing paper similar to goldenrod paper using household tumeric powder. Although tumeric is insoluble in water, in a workshop at Sacred Heart University, ca 1987, we discovered it was soluble in either ammonia or ethyl alcohol. White paper dipped in a solution of ammonia with dissolved tumeric will be dyed red which turns to yellow as the paper dries; dipped in a solution of tumeric and alcohol, the paper will remain yellow as it dries. When dry, test and observe how similar and how different the paper is from the color-changing goldenrod. Note: although this paper seems to react similar to color-changing goldenrod, the color fades much faster.

10. Prepare acid/base color changing paper using natural indicators: rose petals, purple cabbage, etc. Then determine the pKa of the paper.

Blood – A Model for Fifth Grade Students

21 Oct

 Fifth grade students will have a blast as they see this model of blood created.  The concept of a mixture can be covered as this model is made, as well as the concept of a solution can be described as students think of the blood found within their veins.

First we read A Drop of Blood by Paul Showers.  What an excellent book!  It was the perfect lead-in to building our own model of blood, which included plasma (Karo syrup), red blood cells (Red Hots candies), white blood cells (large lima beans) and platelets (split lentils):

We then drew a picture of our blood model and listed what each part does.

Now this is just Gross – Barf! – But Kids will love it!

21 Oct
Making a simulant is a form of chemistry, right? Here are instructions for making your own edible fake barf. Ick!
 

Here’s How:

  1. Heat 1/4 cup of applesauce in the frying pan over low to medium heat.
  2. Stir in 1 packet of unflavored gelatin.
  3. Add a pinch or two of cocoa powder. Mix thoroughly and remove from heat.
  4. Sprinkle oatmeal over the mixture into an aesthetically-pleasing chunky pattern. You can stir it in a bit, but don’t mix too much.
  5. Repeat the oatmeal procedure with some raisin bran cereal.
  6. Spread the barf mixture onto a plate so that it resembles vomit, adding extra raisins or cereal bits, as desired.
  7. Allow the barf to cool completely (couple of hours). Remove it from the plate with a spatula.
  8. Have fun!

Tips:

  1. You may wish to spray your plate with nonstick cooking spray to keep the vomit from sticking.
  2. Adult supervision is recommended.
  3. Please let me know if you come up with alterations to this recipe that make it even more realistic.

What You Need:

  • 1 pkg unflavored gelatin
  • applesauce
  • powdered cocoa
  • oatmeal
  • raisin bran cereal
  • frying pan
  • kitchen utensils

Halloween Science – Ghost Snot

21 Oct

What a great way to teach kids about mixtures – in this case – would be classified as a solution.  GHOST SNOT

One is for older kids since Borax is poisonous if ingested, so please don’t allow young children to handle it, and one is for young kids and is Borax free.

For the Older Kids

What you will need:

  • Borax Laundry Detergent
  • Water
  • Elmer’s Glue
  • Sandwich Bag
  • Food Coloring

What you need to do:

  1. Take 1/8th of a cup of borax laundry detergent and dissolve it into a half litre of warm water.
  2. Once it is dissolved, set it aside and allow it to cool.
  3. Take a separate cup and add 2 tablespoons of Elmer’s glue in it.
  4. Stir in 3 tablespoons of water and mix thoroughly.
  5. Add food coloring.  Green is the best choice for snot but you can mix it up for alien or ghost goo. (hmm, I think that is the official term for it). Stir until you have the desired color.
  6. Pour in one tablespoon of the borax solution that you made.
  7. Mix thoroughly.

And there you have some really gross snot.  Enjoy

For the younger kids

What you need:

  • clear corn syrup
  • water
  • clear gelatin powder
  • food coloring

What you need to do:

  1. Heat a half cup of water until it is boiling hot (this is important for parents to do.)
  2. Add in three packages of clear gelatin and food coloring
  3. Stir until it is dissolved.
  4. Place into a measuring cup
  5. Pour in corn syrup until the liquid rises to a cup. 
  6. Stir until long snot globs form on the end of your fork.

And there you have a non toxic snot that you won’t have to worry if any is ingested. 

I hope you enjoyed today’s gross crafty recipe.

Hurricane!!!

31 Aug

Fall is the perfect time of the year to study hurricanes.

Students interests are automatically sparked as they hear weather reports that include hurricanes. 

To introduce hurricanes, a good starting lesson is:

1.  Current forecast – We use our local tv station – WISTV to see if a hurricane is included in the daily weather forecasts

2.  From the current forecasts, hurricanes are predicted with categories – Next teach students about the Scales for Identifying hurricanes – try this link from the National Weather Service

http://www.nhc.noaa.gov/aboutsshws.shtml

3. Discuss the Damage Hurricanes can Cause – A great similation is found here:  http://weather.about.com/gi/o.htm?zi=1/XJ&zTi=1&sdn=weather&cdn=education&tm=23&gps=263_229_796_277&f=00&tt=13&bt=0&bts=0&zu=http%3A//www.npr.org/news/specials/hurricane/ap/

4.  Hurricane Preparidness

5.  Naming Hurricanes – http://www.nhc.noaa.gov/HAW2/english/basics/naming.shtml

6.  Teach tracking a hurricane – This lesson is good with lots of extra links – http://archive.ncsa.illinois.edu/Cyberia/DVE/FusionDVE/html/hurricane_lesson_plan.html

Mirror … Mirror

27 Aug

Fourth grade students use mirrors as a science tool and math tool.

Key words:  concave, convex, lens, light, reflection, flip, left, right, upside down, magnify, distort, symmetry

Giving students a mirror will automatically turn on an excitement of learning in your classroom. 

The key to student learning at this age is to help students understand that images are flipped left to right.  Only images that are symmetrical will seem to stay the same. 

TIP:  using small plastic will help students see the convex and concave lenses themselves as they have the ability to gently bend the mirror. 


Using a Ruler – It’s Elementary

26 Aug

First and Second grade students have a difficult time learning to use a ruler.  I found a short video that is a great way to show students a demo.  How to use a Ruler

Because a ruler is a smaller tool, seeing an image much larger than life allows for full class instruction and greater success for mastering the use of a ruler. 

1.  Student are given a ruler as they enter the classroom.

2.  Quick “no no’s” are gone over about bending, hitting, etc. 

3.  Introduce video.

4.  View video in its entirety ( 3 minutes)

5.  Go back and instruct students by pointing out important aspect of using a ruler.  With the video, still shots can be used, as well as fast forwarded and replayed.

      These points are highlighted during my lesson:  1.  Holding ruler still with 2 fingers  2.  Identifying “zero” or the beginning of the ruler  3.  Making a small notch at the beginning and end when drawing a line.  4.  Stop at the longest line next to the number… not before.  

1st graders – use a ruler with only inches

2nd graders – use inches and cm

All students  can practice on paper drawing lines 2, 3, 4, 5, and 6 inches or cm.

To add a little fun at the end of the lesson – Give students a small ball of modeling clay – make worms to match their measured lines!

Reading a Graduated Cylinder

25 Aug

In order to help students understand how to read a graduated cylinder, in this case, a picture is worth a thousand words. 

The skill of using graduated cylinders is a third grade skill in SC science standards, which will carry over to higher grade levels.

The lesson used with my third grade students is one that allows students to explore various sizes of graduated cylinders first.

I used many pictures ( google images) to show students that g. c. could look many different ways and be made of different materials. 

Second, I placed 2 different size g.c. with each group.  Each were filled with similar amounts of water.  This allowed students to see that g.c. hold various amounts of liquid and may seem to be the shame by height, but are not because of size.

Third, to give students an idea of what a small amount of volume a mL is, we filled 10 ml gc using another science tool, the eye dropper.  Directions were given to 1.  Use an eyedropper to fill the gc with 2 ml of water.  2.  Then with the g.c. at EXACTLY 2ml, pairs of students  worked together to count the number of drops it would take to go from 2 ml to 3 ml.  3.  This amount is recorded.  4.  Students then could the number of drops to go from 3 ml to 4 ml, and continue recording and counting until reaching 10 ml.   This allows for students to understand  how measurements are taken with the graduated cylinder.

REMEMBER  :  When reading a graduated cylinder, students must get eye level with the liquid in the graduated cylinder in order to read it correctly. 

Roses – Some with Beautiful, Some with Thorns

14 Jul

And we know that all things work together for good to them that love God, to them who are the called according to his purpose. (Romans 8:28 KJV)

Over the past few days God has gently reminded me of how important it is to be greatful, complimentary, and encouraging.  Not long after coming to Hillcrest, a dear lady in our church introduced me to her saying – “Give roses to ones while you can.”  This was apparently something that she was known for and had instilled in other ladies of the church. 

Today, this dear lady is still part of our church, but because of age and health has not been able to as active as in the past.  I am often reminded though of her words and want to give roses to others while I can.

I thought being a pastor’s wife would be a continual receiving of roses (verbally and literally).  Little did I know you do get roses but someone forgot to tell me that the roses come in all shapes, sizes, Godly maturity levels and some with prickly thorns attached.  Oh, how those thorns hurt sometimes and the wilted dying flowers are not too attractive either.

As a Pastor’s Wife, it seems that there are two views, or opinions, or might you say judgements that I get from others.  There seems to be those who see a Pastor’s Wife as deserving to receive flowers everyday – just because of all she has to deal with – from long days, even weeks without quality time with her husband because of “church work,” to getting out to help cut the grass at the church because it just needs to be done.  Yet on the other had there comes a view from others that a Pastor’s Wife owes those flowers to everyone else. 

 regardless of others views of myself, I have begun to look at others as an individual rose with each petal representing the individual’s uniqueness.  Some are perfect little roses that I wanted to place in a vase of water in my heart to live forever and never die.  But oh the thorny, wilted, ugly roses  – what shall we do with them??? There are always some of those.  I want to place them between the pages of a big sturdy book and slam it shut.  Then I could wait for them to dry out so I could store them as far away from me as possible or even throw them away.

God is trying to teach me that  it is those imperfect people, however, that help me grow in my spiritual life.  When you hear negative words uttered, those thorns prick.  Those thorny roses, however, help me to look upward to Jesus as the source of my strength and encouragement.

I will strive to appreciate all the roses that come my way – I know God had sent them to me for a reason. 

 Yes, I do receive roses and will continue to do so!

More Free Pizza! $2 off Tombstone

13 Jul


tombstone-pizza-coupon$2 off Tombstone pizza coupon.

 This is through facebook and will ask you to do a few simple steps to get this awesome high value coupon.

One deal right now:   For the next 2 weeks you can get Tombstone pizza for 49¢ at Kroger.